Show Posts

This section allows you to view all posts made by this member. Note that you can only see posts made in areas you currently have access to.


Messages - illMATTic

Pages: 1 2 [3] 4 5 6 ... 12
31
Awesome info, thanks!  This is going to be one of my future projects, as I already have a frame, front end, wheels, and gas tank just sitting around! 

Does the balance of the flywheel appear to be the same as the GC flywheel?  Can you feel any difference when running?

I have not had a chance to run it on the road yet. The GC was rough to begin with so I can't see how it could be any worse.

It looks like they did at least attempt to balance the flywheel. It has been drilled in various locations. 

I'll try and run it on Sunday if it's dry.

32
I have the POWER!

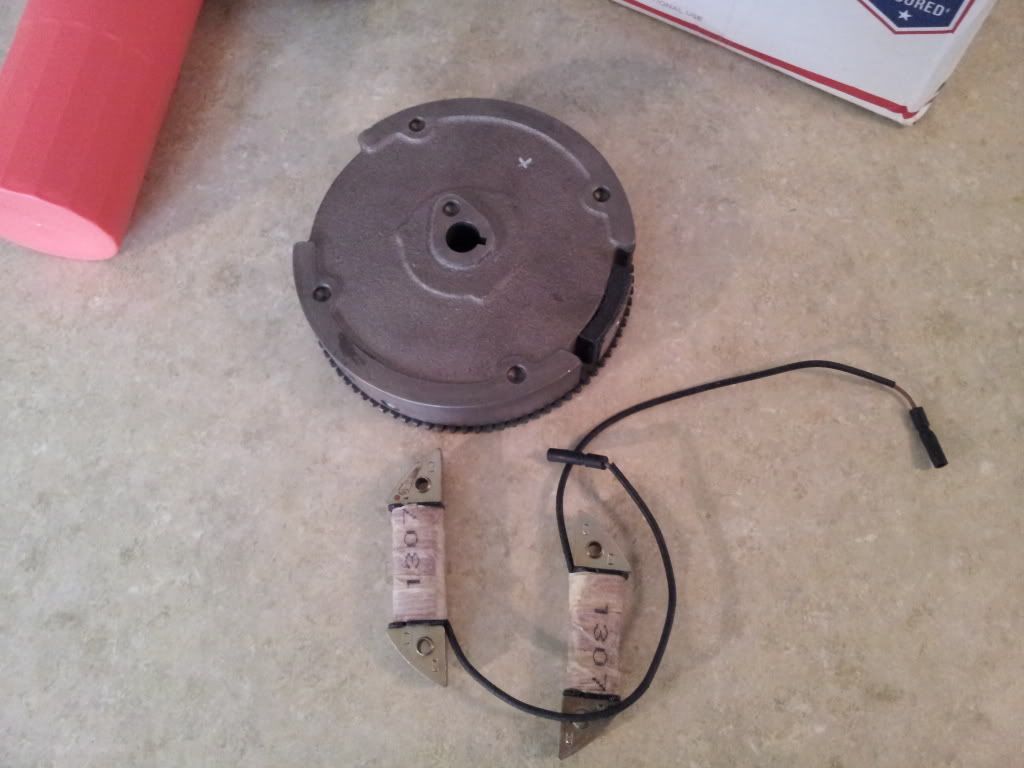
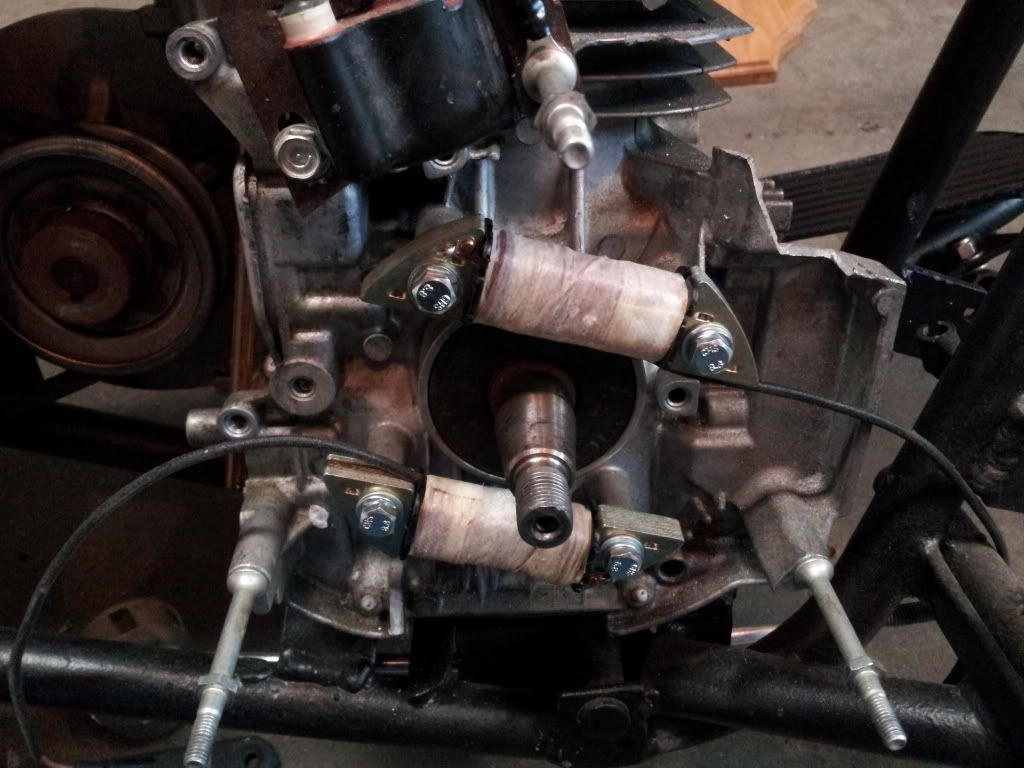
Today I got the GX flywheel and coils in the mail. They fit and produce power. I am just running the coils directly to the lamps.

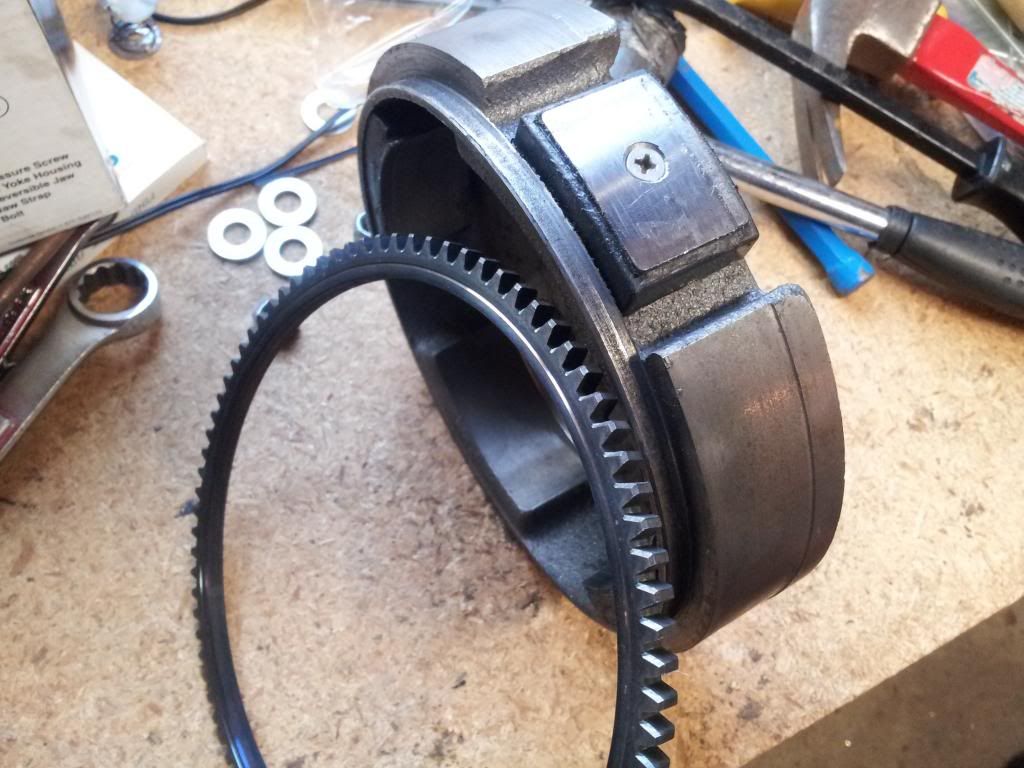
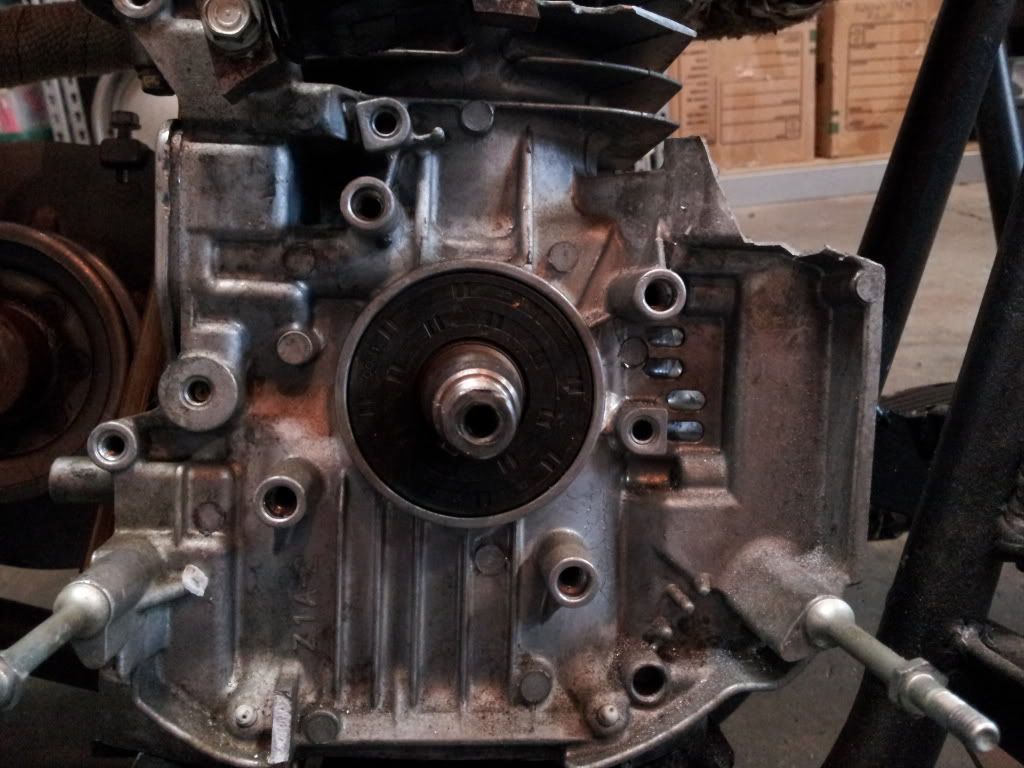
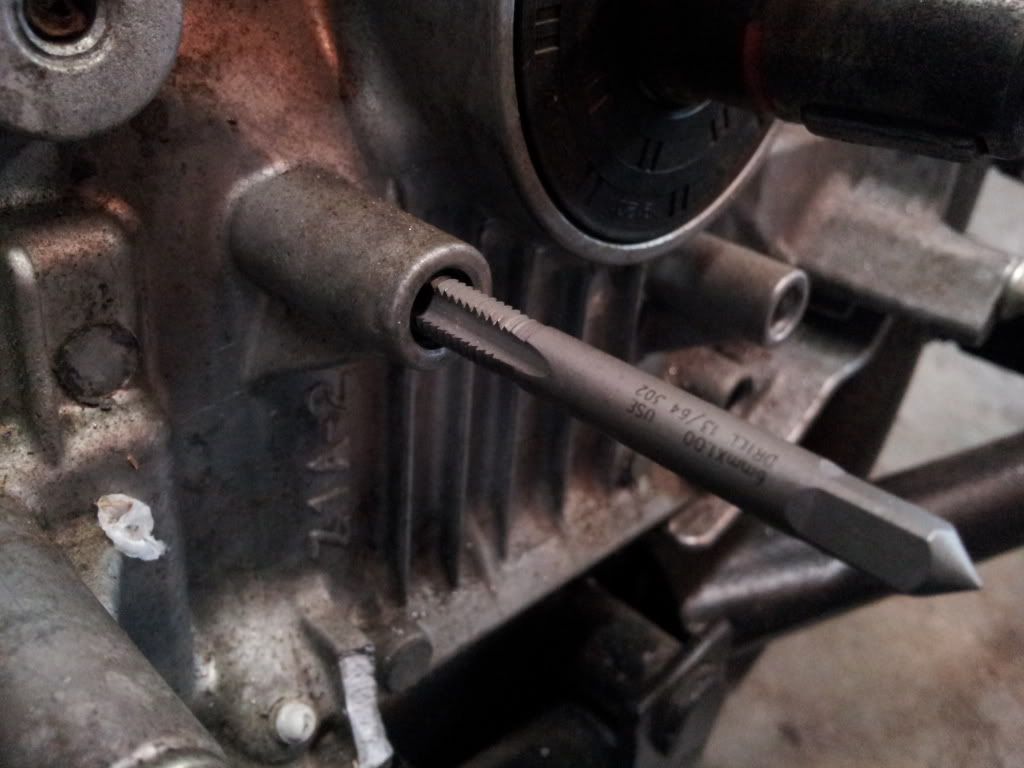
I purchased a flywheel and 2 lighting coils on ebay that are listed as fitting a GX160/200. I paid like $42 I think. The flywheel came with a starter ring attached. I had to remove it in order to clear the ign. coil. I then tapped the existing holes with a 6mmx1.00 tap and installed 6mmx30mm bolts.

These are listed as 3 amp coils. It looks to be juuuust enough to light two lamps.

Have a look at the initial install pics. I still need to button it all up.


33
I was also thinking about one of these alternators from a Kubota tractor. These are real small.

http://www.ebay.com/itm/NEW-Permanent-Magnet-ALTERNATOR-for-KUBOTA-15531-64017-/360507813546

34
I am 99% sure a flywheel and coils from a GX160/200 will work on these. I may pull the trigger on the parts today.

Stay tuned. :P

35
That'll work .

And , I see you're not using the spring on the kick stand bolt . How does the stand stay in retracted position ?

Pete . :)

I just have it tightened to the point it will stay up but still move.

36
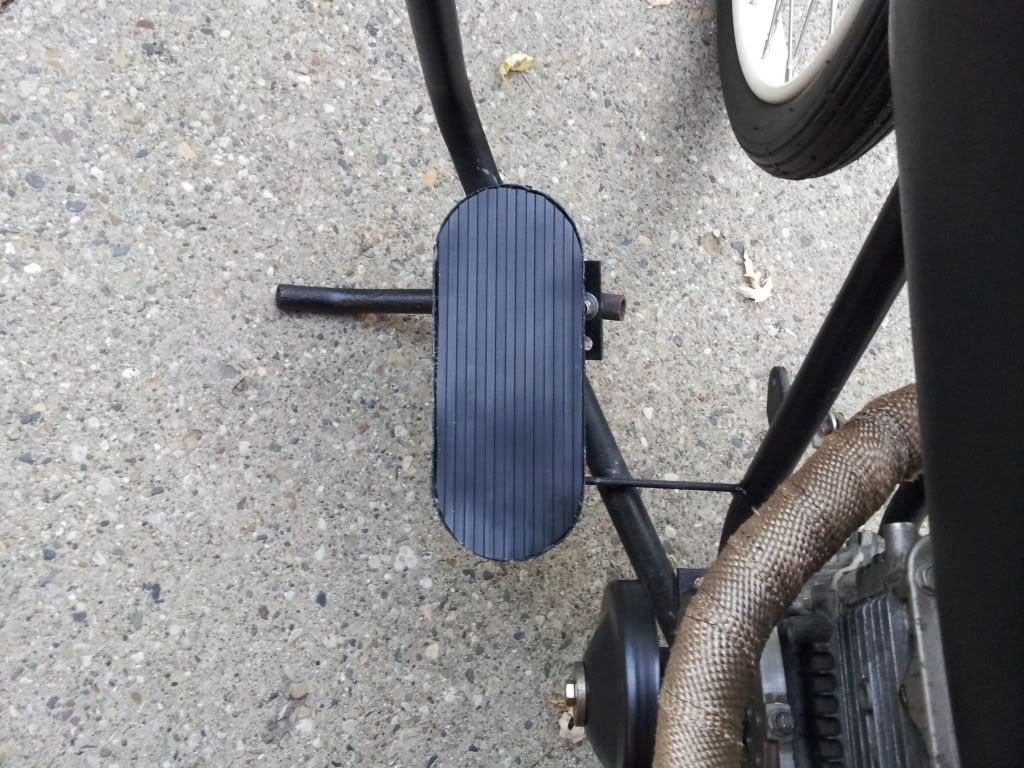
Look ma... no feet! I found some ribbed rubber runner at Home Depot. It was $2.50/ft.


37
Wheels & Tires / Front brake photos?
« on: October 11, 2013, 08:19:13 AM »
I am trying to figure out how the stock front brake is attached. Where does the arm on the hub mount to keep it from spinning? All of the photos I can find are real small with little detail.

Can somebody post a closeup?

Thanks

38
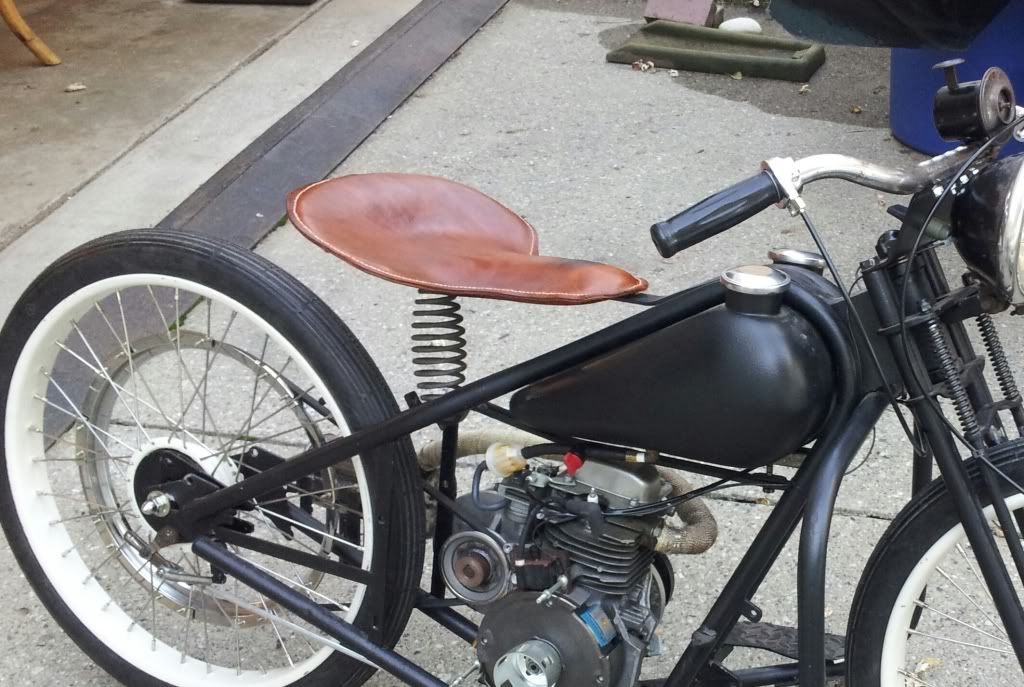
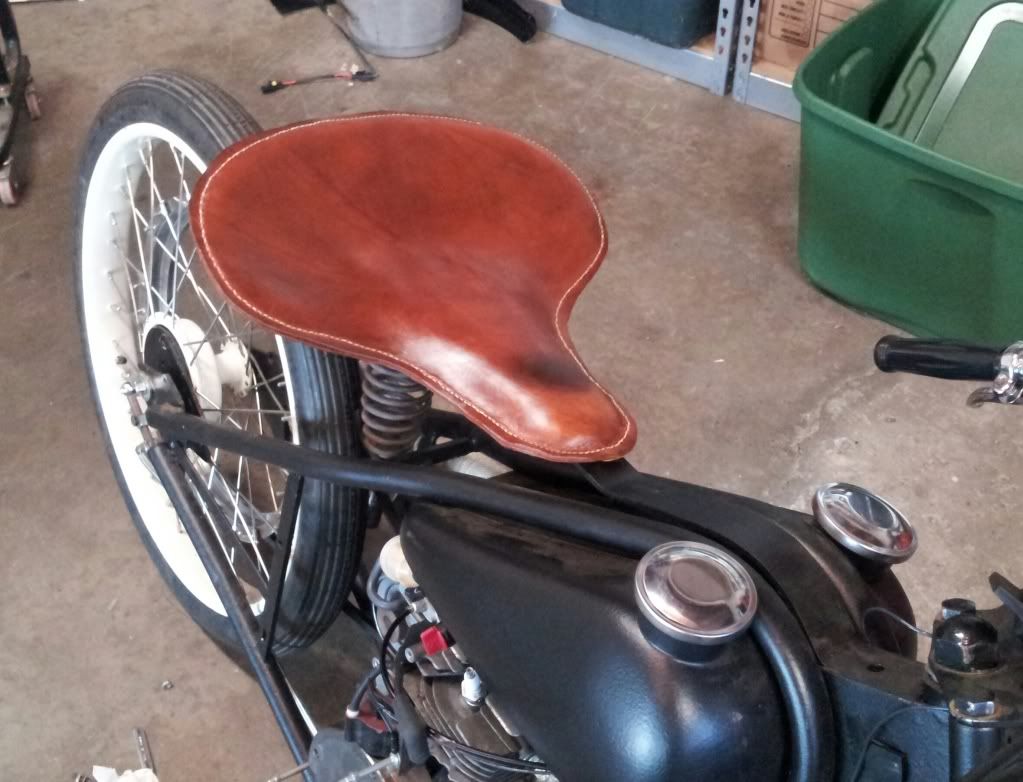
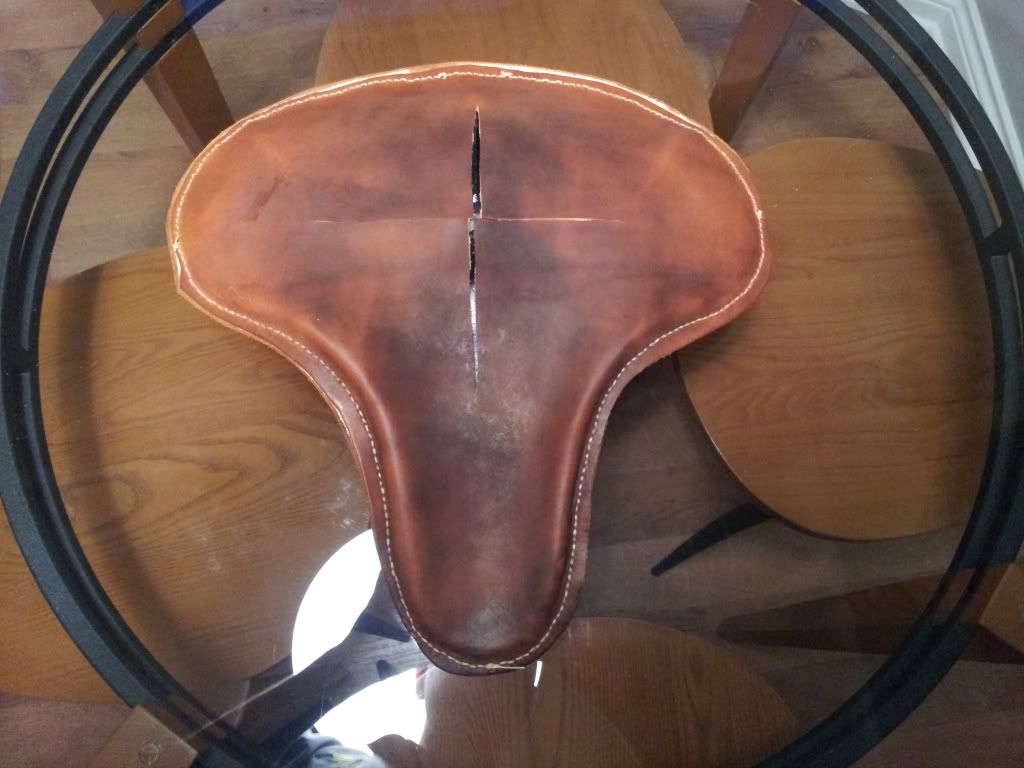
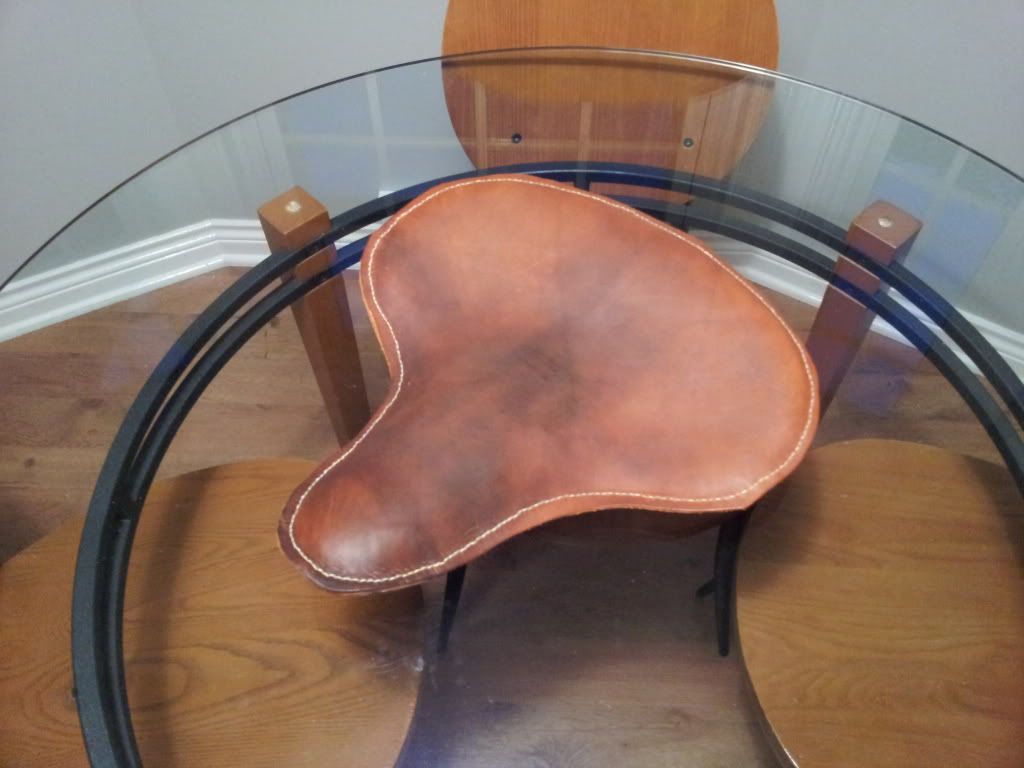
Here are a few photos. It turned out way darker than it started. I think some of the oil must have leached something out of the front bolt. I had the hardware in to keep it up off the table.

You can not see in the photos but the finish is all streaked looking. The "Tan Kote" sealer I used left it that way. I should have rubbed it down more before it cured.

Here it is.


39
I probably have 100 bucks in it and still have enough product to do another seat.

40
Keep the feet , I think they are cool. Bill Marcum 8)

Too late. I chopped off the toes last night. I have the original foot rests to replace them.

41
It says other natural oils on the website.

42
The leather turned out pretty crispy after I wet it and dyed it. So I called Fiebings and they told me to use this or 100% Neatsfoot oil. This was half the price. After a couple rubdowns with this it should be ready for the sealer. You guys may try this on your old saddles.


43
Thanks. I still need to trim the edges and polish it. I was on the home stretch last night and wanted to just get it stitched up. I was on it for 3.5 hours. I finished up after midnight.  :o

44
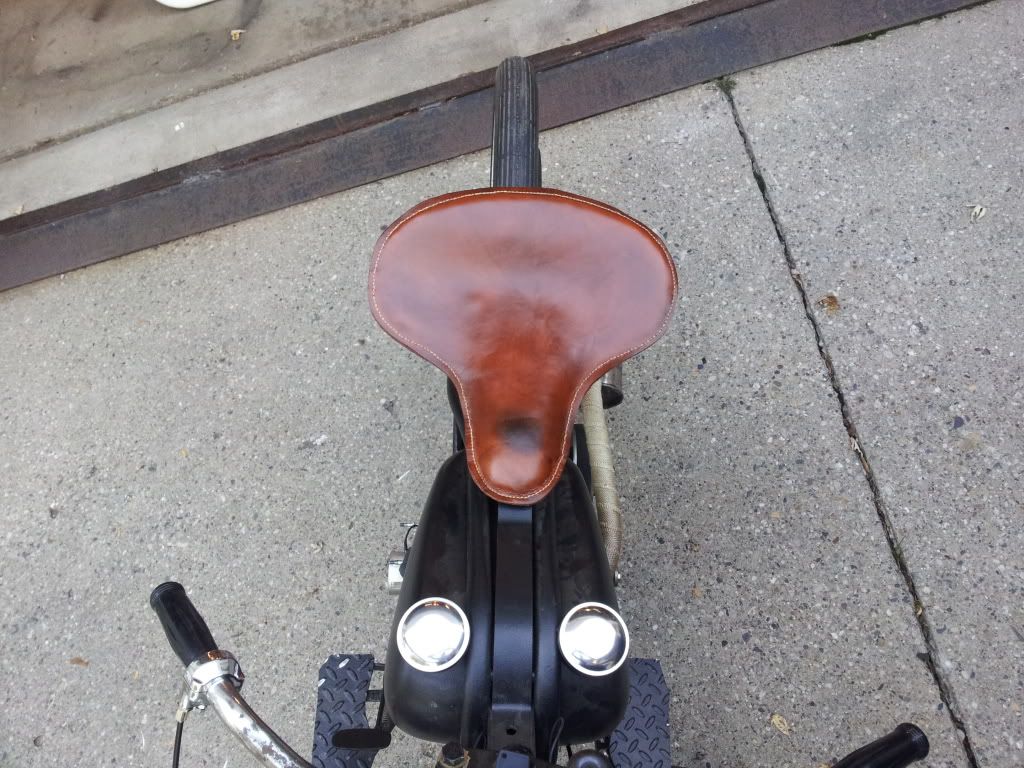
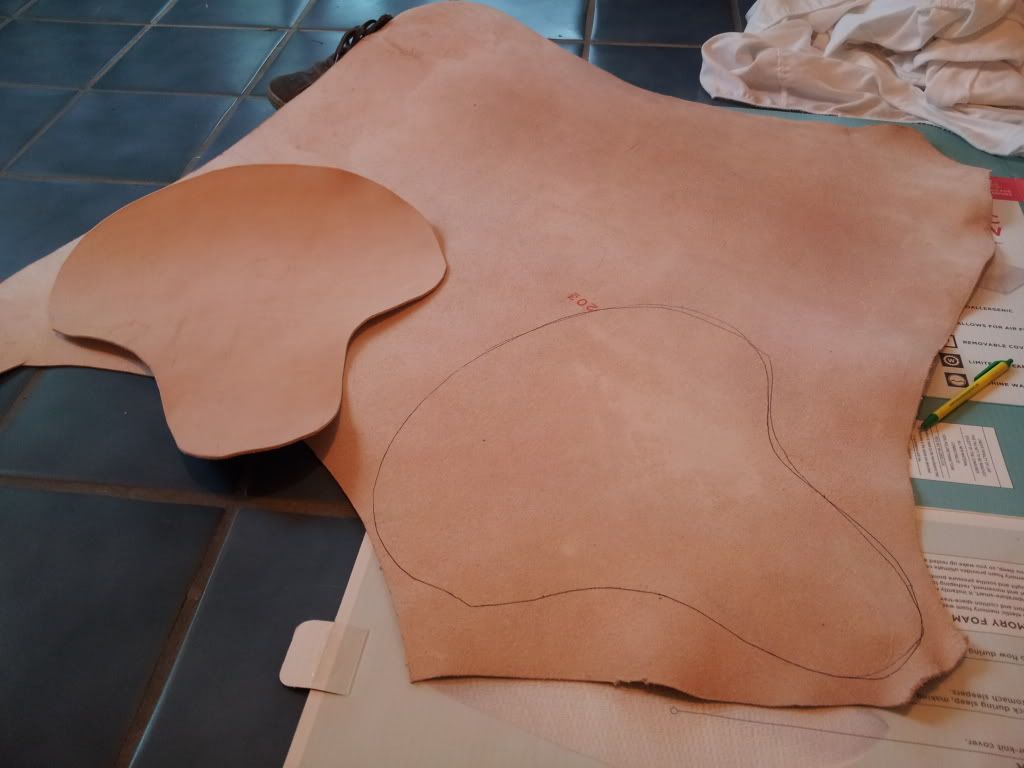
Well I decided to go ahead and start on the saddle yesterday. I wasn't sure how it would turn out since it was my first time doing any sort of leather work. I am pretty happy with the result.

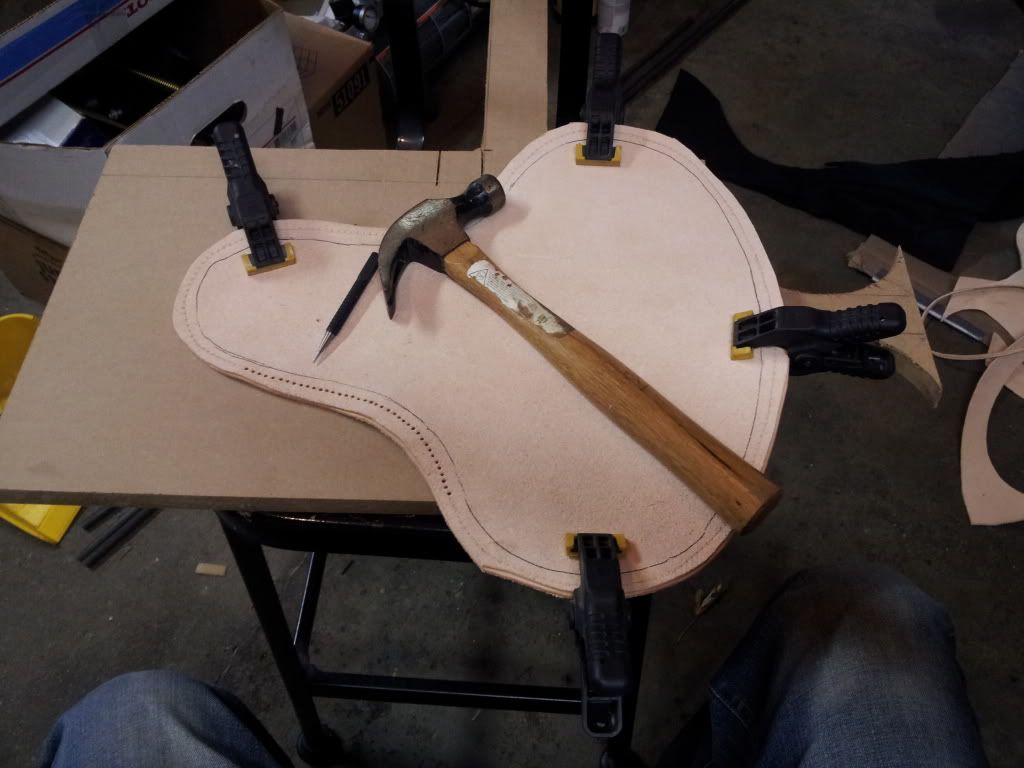
First I traced out the seat pan and cut the patterns. I didn't want to rivet the bottom so I went with a full skin on both sides. I clamped them face to face and ran my marking tool all around the perimeter. This gave me the correct spacing for the stitches. Then I just hammered out each one.

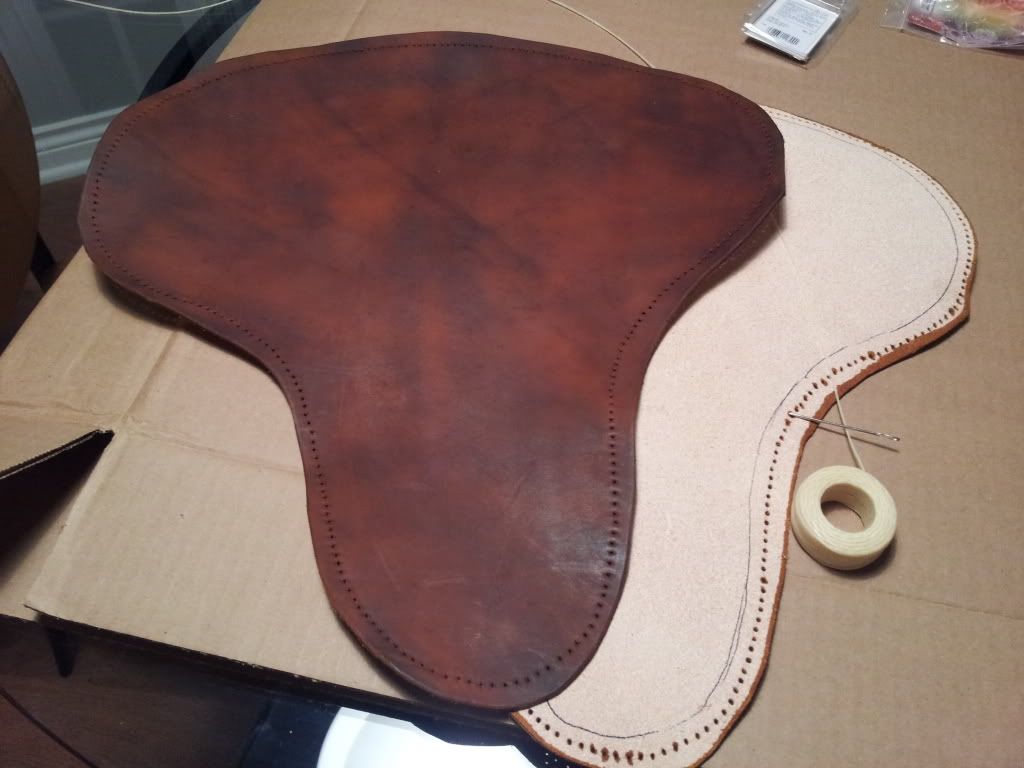
I used saddle tan for the dye. Notice it looks splotchy. I think this is due to some oils and residue on the surface. I found out I should clean the leather before dyeing. I think it will look good once it has some time on it.

I stitched up half of the cover and then slid the pan into it. I had to wet the inside a bit to help mold itself to the pan. You can see on the bottom I hrelieveeleave the leather a bit. Since I made the top and bottom the same size it became very tight when trying to get it stitched all the way. It took me about 3.5 hours to get it all stitched and formed. No breaks.  ;)

I used a standard saddle stich. I am sure years of practice will help tidy up the stitches.
 
Once it is completely dry I will apply a sealer to the leather. The sealer also gives it a more even look.


45
I think the disc brakes stop better from what I have read. If I was going for more function than looks I would def use one.

If you could come up with a bracket to keep the caliper with the disc as it traveled up and down it would work.  ;)

Pages: 1 2 [3] 4 5 6 ... 12