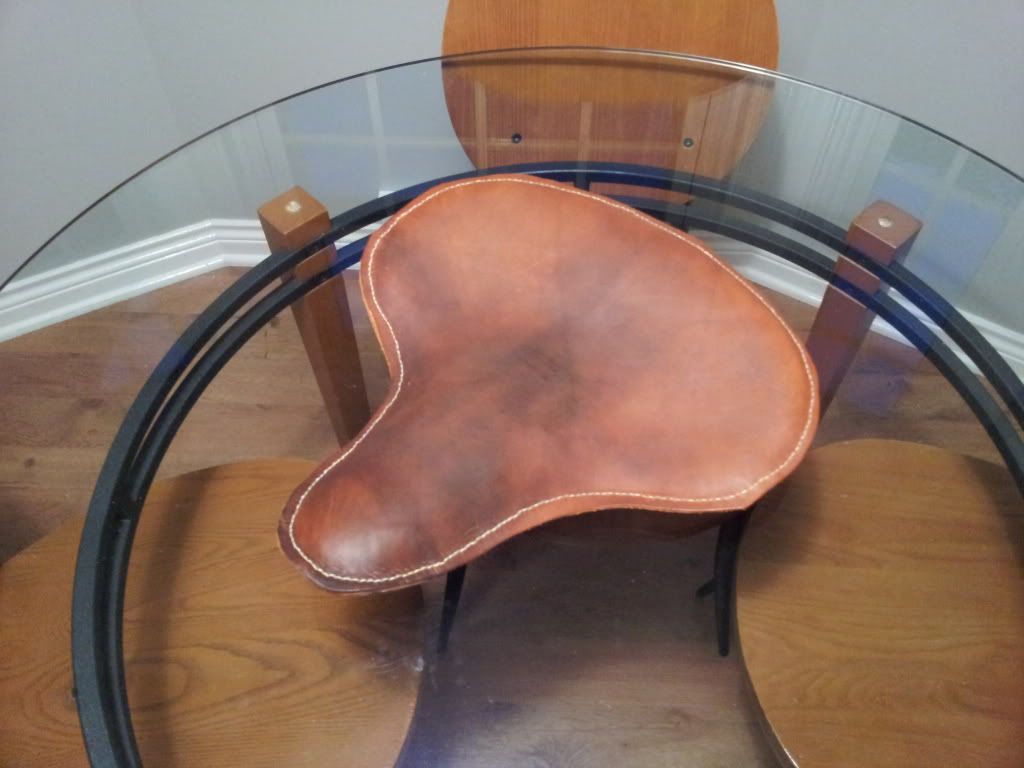
Well I decided to go ahead and start on the saddle yesterday. I wasn't sure how it would turn out since it was my first time doing any sort of leather work. I am pretty happy with the result.
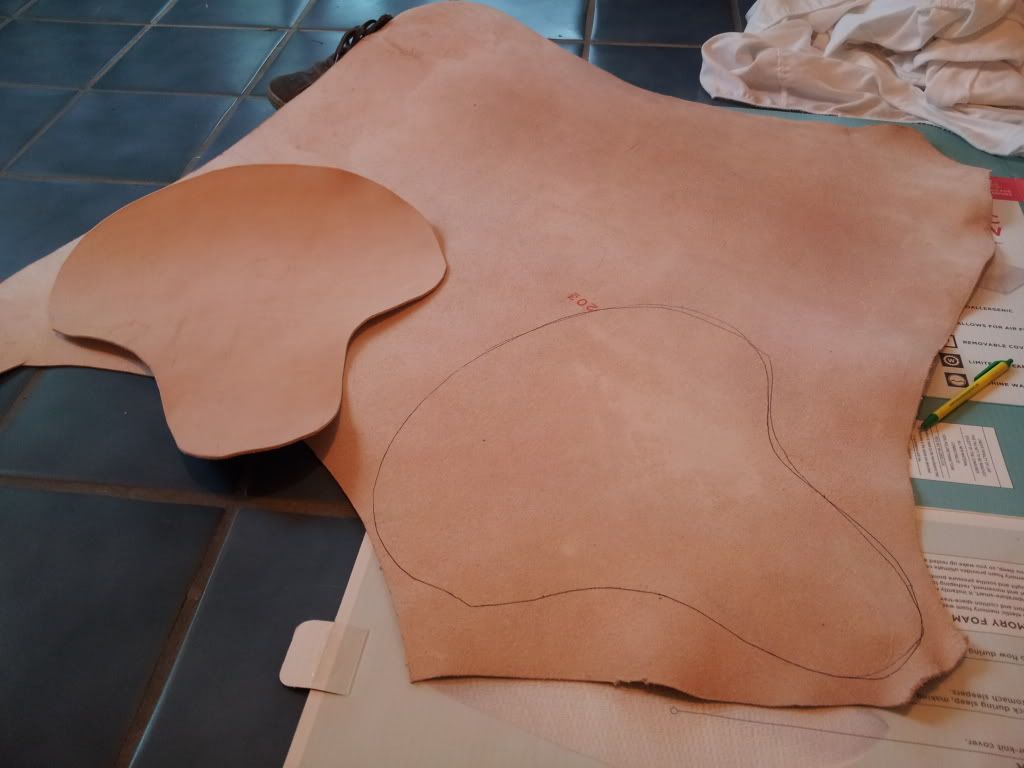
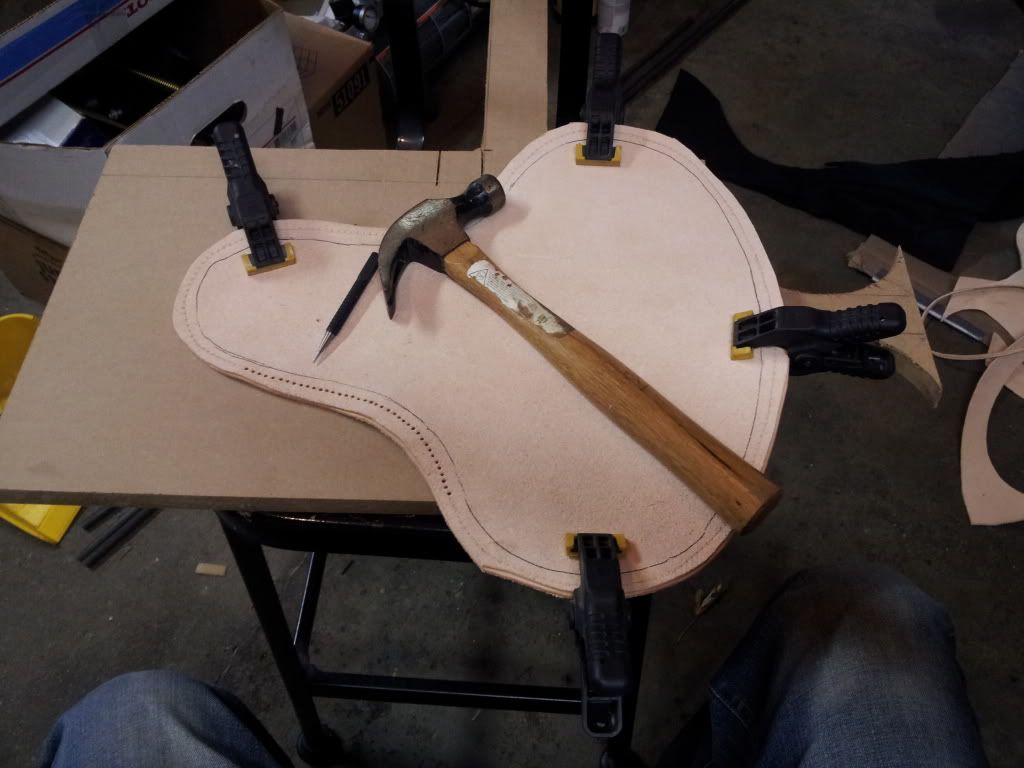
First I traced out the seat pan and cut the patterns. I didn't want to rivet the bottom so I went with a full skin on both sides. I clamped them face to face and ran my marking tool all around the perimeter. This gave me the correct spacing for the stitches. Then I just hammered out each one.
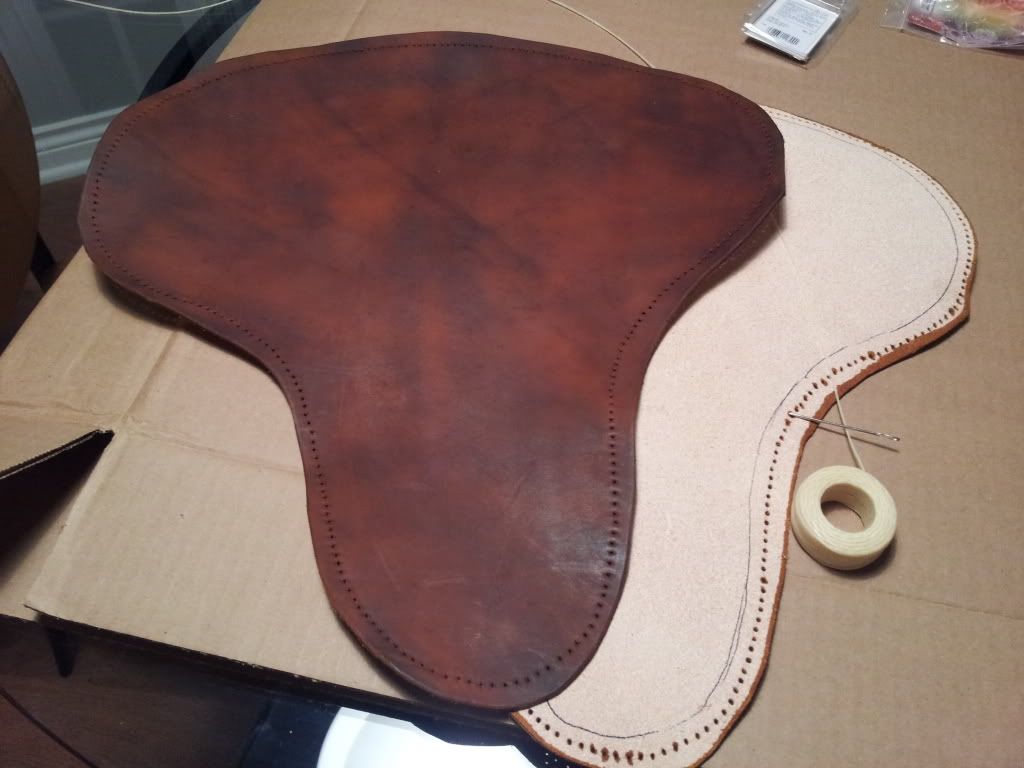
I used saddle tan for the dye. Notice it looks splotchy. I think this is due to some oils and residue on the surface. I found out I should clean the leather before dyeing. I think it will look good once it has some time on it.
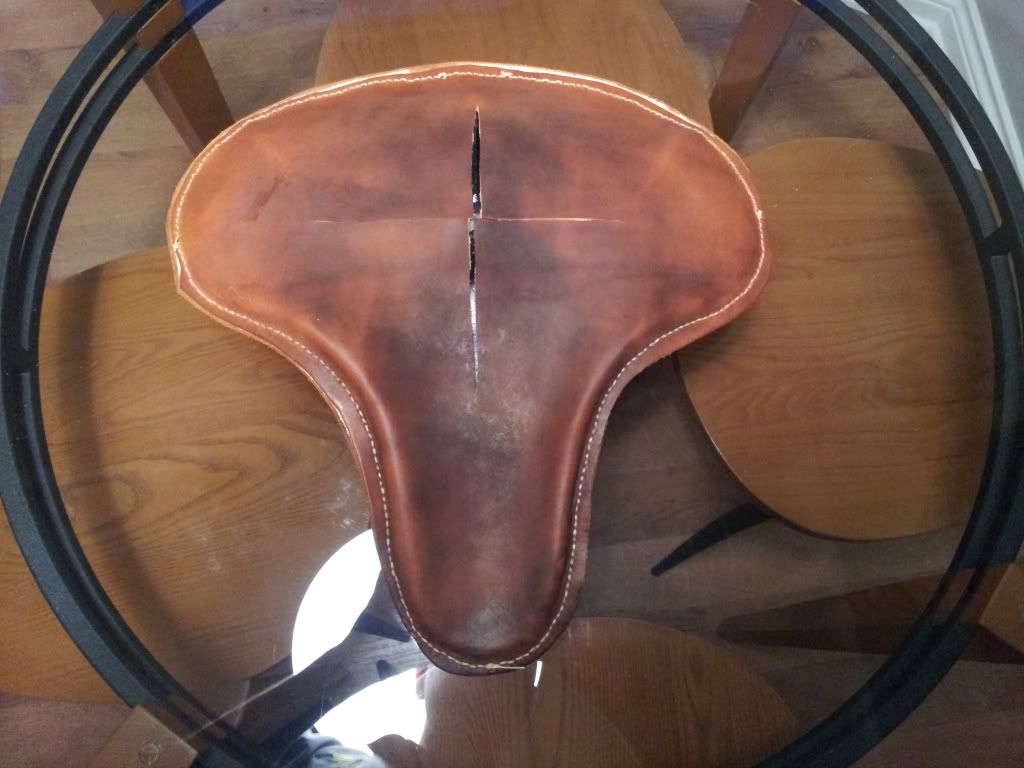
I stitched up half of the cover and then slid the pan into it. I had to wet the inside a bit to help mold itself to the pan. You can see on the bottom I hrelieveeleave the leather a bit. Since I made the top and bottom the same size it became very tight when trying to get it stitched all the way. It took me about 3.5 hours to get it all stitched and formed. No breaks.

I used a standard saddle stich. I am sure years of practice will help tidy up the stitches.
Once it is completely dry I will apply a sealer to the leather. The sealer also gives it a more even look.
